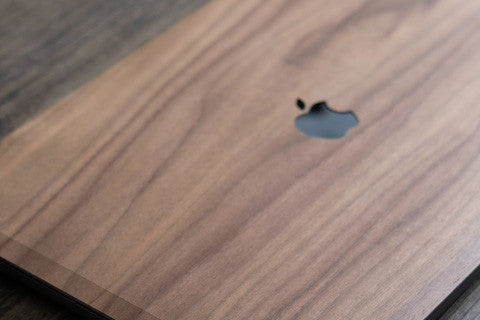
Applying your MacBook Skin

We have lot enquiries about our MacBook skins, and how to apply them. Of course we have instructions on the packaging, but often people want to be confident before they purchase.
So here's our simple guide how to successfully apply your new Cover-Up MacBook skin.
IMPORTANT: Before you do anything, please check that you have bought the right size skin for your machine. If you notice your skin isn't the right size please contact support@cover-up.com as soon as possible.
And here's the written version!
1) Wipe down the top of your MacBook with a dry, lint-free cloth.
2) Peel off the first inch or so of the backing paper.
3) Line the top of the skin with the top of your MacBook.
Then lay the rest of the skin down to check if the sides are all lined up. If they're not, slightly adjust the top and try again. This may take a couple of attempts.
Please don't start by lining up the apple logo, otherwise it'll probably end up a bit wonky! Trust us, start at the top and everything will line up perfectly.
4) Once you're happy that the top is aligned, start to peel back the rest of the backing paper from underneath.
5) Slowly continue to pull back the backing paper while gently pushing the skin onto the MacBook.
6) As you get towards the bottom on your MacBook your skin should now be aligned perfectly.
7) Now firmly (but gently) rub your MacBook skin to ensure it is stuck down properly. Pay particular attention to the corners and edges.
And voila, your new Cover-Up skin should now be on perfectly!


